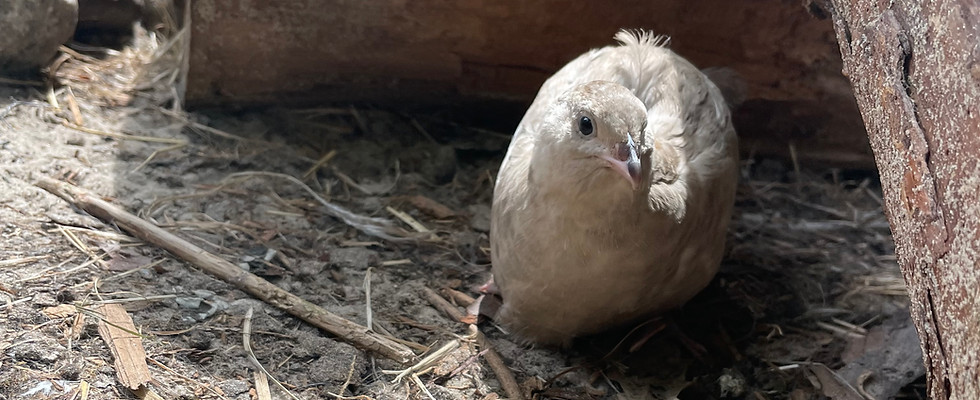
Quails are ground-dwelling birds that can run surprisingly fast. While they can fly, they usually prefer to stay close to the ground.
Their eggs are much smaller than chicken eggs—usually about one-third the size—but they pack a rich flavour. They are rich in vitamins A, B12, iron, and selenium; and despite their small size, they’re packed with nutrients and often are praised for their health benefits.
About the quail eggs
How to cook them
Just like chicken eggs, the quail's eggs can be: fried, boiled, poached, etc. But there's a trick crack them since they are thinner and easier to crumble than chicken eggs.
With a serrated knife, make an incision at the upper part of the gg and star gently cutting the top. Once the knife is almost though, make an upwards movement with your thumb pushing the cut shell as well.

Decorations
If you want, you can keep the shell for decorative purposes!
Each quail egg has its own unique pattern which makes them a one of a kind decoration!
Quail Egg Pure Candles
Materials needed:
-
Quail eggshells (cleaned and dried)
-
Wax
-
Candle wicks (pre-waxed small wicks or trimmed cotton wicks)
-
Double boiler or microwave-safe container
-
Egg carton or tray (to hold eggs upright)
-
Toothpicks
-
Needle or small knife (to crack the top of the egg)
-
Spoon or pipette (for pouring wax)
Optional materials:
-
Crayons or candle dye (optional, for color)
-
Essential oils (optional, for scent)
Steps
Step 1: Prepare the eggshells
After gently taking off the top third of the quail eggshell with a small knife and cleaning the interior thoroughly let it dry completely.
Attention - carefully peel away any membrane from the inside if present.
Step 2: Set the eggshells in place
Place the cleaned eggshells upright in an egg carton or tray.
Attention - Make sure they are stable and won't tip over when filled with wax.
Step 3: Insert the wick
Cut your wick to a proper size with about 5 cm above the shell.
Use a drop of melted wax or hot clue to attack the wick to the bottom centre of the shell.
Keep the wick entered using a toothpick laid across the top of the shell, with the wick held upright in the middle.
Step 4: Melt the wax
Use a double boiler or microwave to gently melt your wax.
Stir well.
Optional - add essential oils for scent and crayon shaving or candle dye fir color.
Step 5: Pour the Wax
carefully pour the melted wax into each eggshell using a spoor or pipette.
Fill almost to the top, but not overflowing.
Keep the wick straight while the wax cools.
Step 6: Le it set
Allow the wax to fully cool and harden for about 1 or 2 hours.
Trim the wick to about 0.5 cm
You can decorate the eggshell as you please!
Quail Eggshell Bracelet (whole eggshell)
Materials needed
-
Whole, empty quail eggshell
-
Clear resin or Mod Podge (for strengthening)
-
Small hand drill or rotary tool (optional)
-
Strong wire or jewelry cord
-
Beads, leather, or chain links (for the rest of the bracelet)
-
Glue (E6000 or epoxy)
-
Protective gloves and mask (if drilling or using resin)
Steps
Step 1: Empty and clean the eggshell
Poke a small hole at both ends with a needle.
Blow out the content or gently rise.
Let dry completely.
Carefully remove inner membrane (this weakens the shell if left in).
Step 2: Strengthen the shell
Brush on several thin layers of clear resin or mod lodge, letting each layer dry fully.
Cover the entire surface. This will harden ad protect the shell from cracks.
Optional - Fill the inside with clear resin or lightweight clay to reinforce it from the inside.
Step 3: Prepare for mounting
-
Option A: Drill Holes
Drill two tiny holes on opposite sides of the egg to thread wire or cord through.
This allows the egg to hang like a bead or pendant in the centre of your bracelet.
-
Option B: Cradle or Cage mount
Use wire wrapping to create a "nest"or cage to hold the egg securely.
Jewerly wire can be wrapped gently around the egg to form a harness without drilling.
Steps 4: Attach to bracelet
Add the wrapped egg to a bracelet chain, leather strap or elastic band.
Use jump rings, clasps or knots depending on your chosen base.
Balance the resin so the egg sits at the top of the wrist, not the underside (to avoid pressure).
You can always add more decorative elements to have your own personal touch!
Recipes
Here we have a collection of easy, delicious recipes for everyday meals - from quick weekday dinners to sweet treats. These recipes are perfect for anyone who enjoys home cooking.


